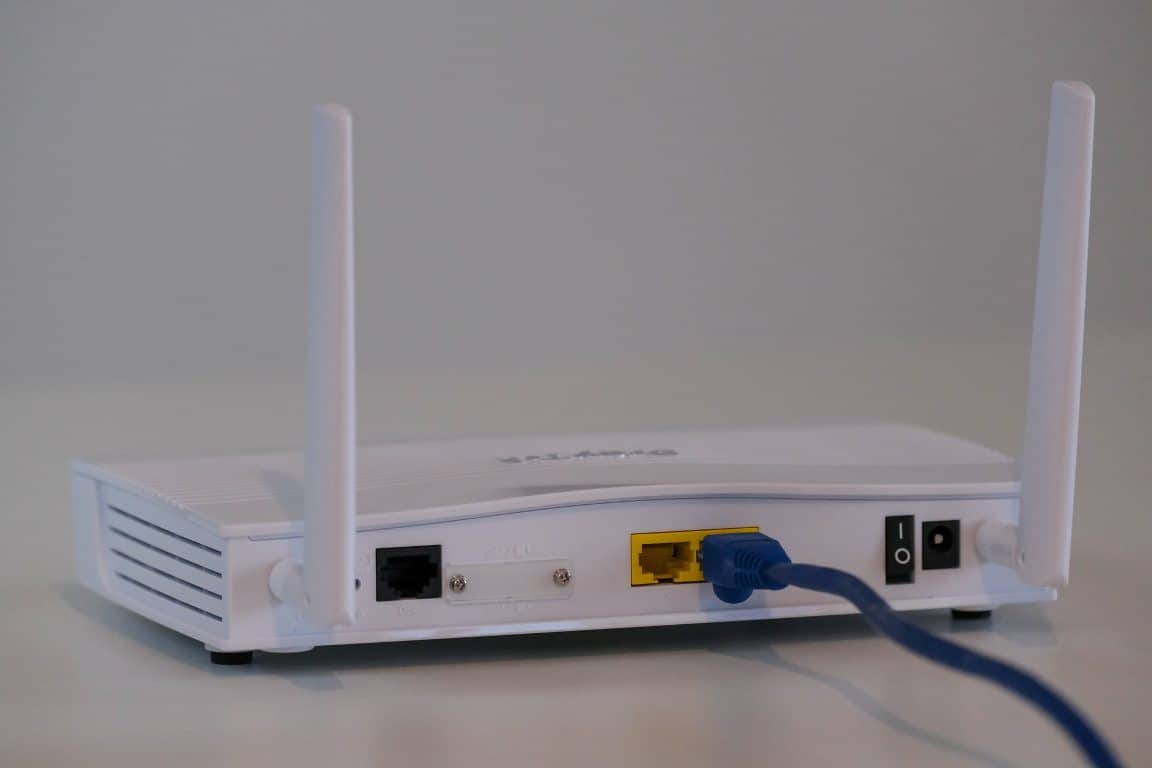
How to Install VPN on Your Router? and Why? Now it has become more necessary to protect your online activities than ever before. Cyber Crimes are increasing daily. Your data is being tracked, what you search on google, what products you are interested in, your current location, etc. All these things can be easily traced using the internet. It’s necessary to protect all this data. So the best way to protect your internet privacy is to use a VPN.
Quick Access
How does VPN Keep your information safe?
VPN is a virtual private network. VPN server protects your IP internet protocol to be displayed when you search for something online. Whenever anyone tries to trace your online activities, they would see the IP address of the VPN but won’t be able to view your IP address. No one can even track your location as his VPN server makes you completely anonymous to the tracing tools.
You might have thought about installing a VPN server to your mobile, laptop, tabs, smart tv, etc. But it’s pretty tedious to install VPN on all these devices separately. Instead, you can directly install the VPN to your router: that way, all the devices connected to the router stay encrypted.
So, now let’s see how to set up a VPN on a router in the simple steps.
Setting up the VPN on the router might be different based on your router type and the type of VPN service provider you are using.
1) Check whether your router supports VPN or not
The first step is to verify whether your router supports the VPN or not. Search on Google or see any YouTube video related to your router, whether you can install a VPN on your router or not.
Suppose your router doesn’t support VPN. You might need to install the third-party firmware that supports installing a VPN. Installing third-party firmware is quite a time-consuming process. So, you will need to follow a separate process to install the firmware.
Suppose your router doesn’t support the firmware that you have installed. You might require to install another or buy it. Also, Ensure that your VPN data cap is strong enough to support all your devices at a time.
2) Open the Routers Configuration Panel
Once all your firmware installation is done, you need to open the router’s configuration interface in your browser. You can access the configuration panel of the router by entering the IP address on your router.
You can find the router’s IP address by typing and selecting a ‘command prompt’ option in your start menu. A console window appears, type ‘config, and then you can see your router’s IP address on the default gateway line.
3) Find the VPN client Tab
Now that your router is compatible with the VPN. You will find the option of a VPN client in the settings of the router. Depending upon the type of router, you would use this option in different places. Search and locate the option of the VPN client.
4) Enter Correct VPN settings
Now you need to follow the steps given by your VPN provider. If your VPN provider has shown any configuration setting, just enter that instead of entering all the settings.
5) Check Whether your VPN is working
You need to make sure whether all your settings are done correctly by checking if your VPN is working or not. Just search ‘what is my IP’ in Google Chrome. It should show the IP address of your VPN provider. If it shows that, then you are good to go!

